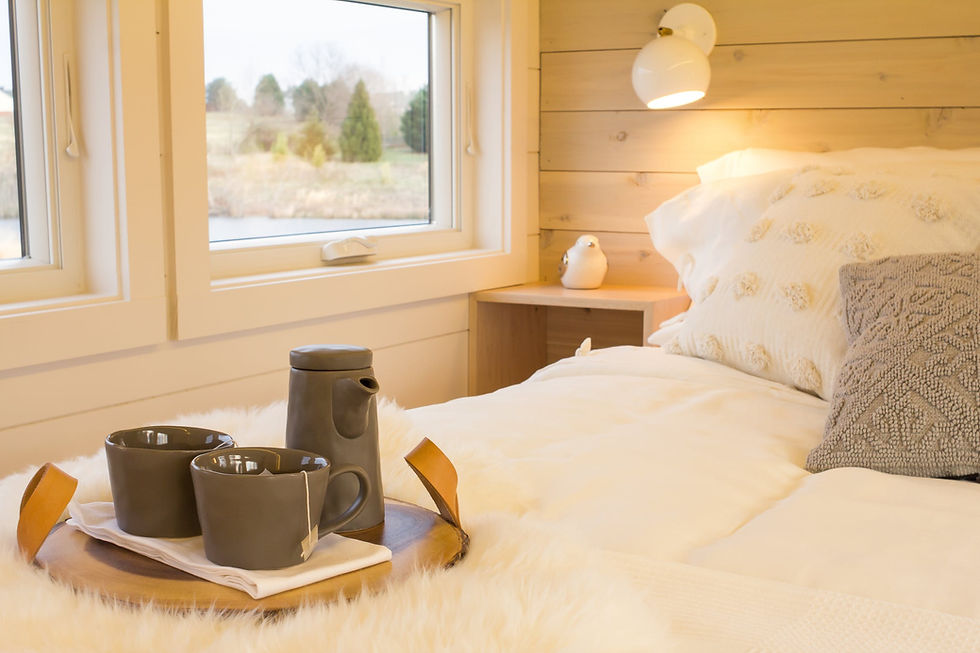
Thanks to Chip & Joanna Gaines, shiplap is filling homes across the country, and for good reason. Shiplap can give you a beautiful feature wall without having to choose an accent color you may not be crazy about in a few months. If done wisely, it doesn’t have to be expensive either. Here is a guide to create your own shiplap without breaking the bank.

What You’ll Need:
Nail Gun & Nails Table Saw* Compound Miter Saw* Stud Finder Underlayment Plywood Construction Adhesive 1/8 Inch Tile Spacers Spackling Paste 250 Grit Sandpaper Paint (With Primer Included)
*Your local home improvement store where you purchase your plywood can typically cut your boards into planks if you do not have these tools at home. Make sure your boards will collectively be long enough to fit the wall you plan to shiplap.

Step 1: Prep Your Planks Measure the wall you plan to shiplap and make sure you get enough plywood to cover the wall. You get to decide how wide you want your planks to be, but 6 inch planks are a great size for any home. Be sure to cut the final full-length planks into a variety of sizes so that you can achieve that staggered shiplap look. Step 2: Hang Your First Row Use your stud finder to locate the studs in your wall. This is where you’ll be nailing the boards in. Prep your first plank by applying the construction adhesive to the back of the wood. Lay that plank flush with your crown molding to ensure your planks will lay straight on the wall. Once in place, nail the plank twice, once on top and once on bottom, along the stud that the board is covering. Fill in the top row with as many pieces as needed. Step 3: Use Your Spacers Before placing the second row, use your spacers to ensure there will be an equal gap between planks. Be sure to do this for each new row of planks. Step 4: Fill Nail Holes Use your spackling paste to fill in all the holes you’ve created. Once it has dried, you will need to sand down the hardened paste to create a flush surface with the wood. Step 5: Time For Paint If your paint doesn’t have a primer included, be sure to prime the wall first and then apply your first coat. Use a second coat if needed! You now have the perfect focal point in whatever room you’ve added your DIY shiplap wall to, all for the price of a week’s worth of coffee!
TAG ME IN YOUR DIY
XO, SHARE ALLEN REALTOR

Comments